Asterisk installation process step by step.
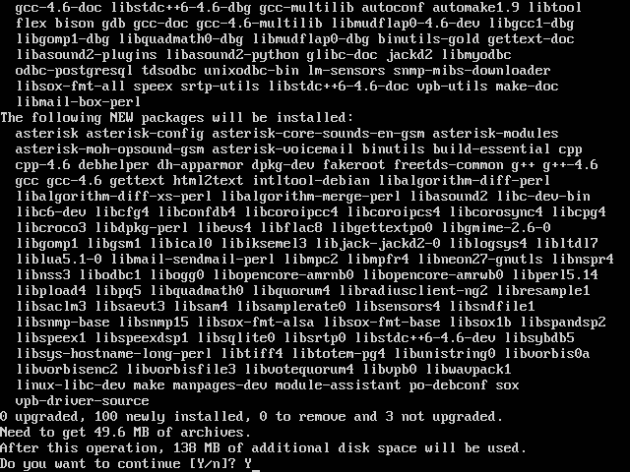
sudo apt-get install asterisk ↵

- Type Y when you are prompted with the Do you want to continue [Y/n]? message
- Here you will see the default ITU-T telephone code of 61. But in our case if you are in North America as I am you will want to change it to 1


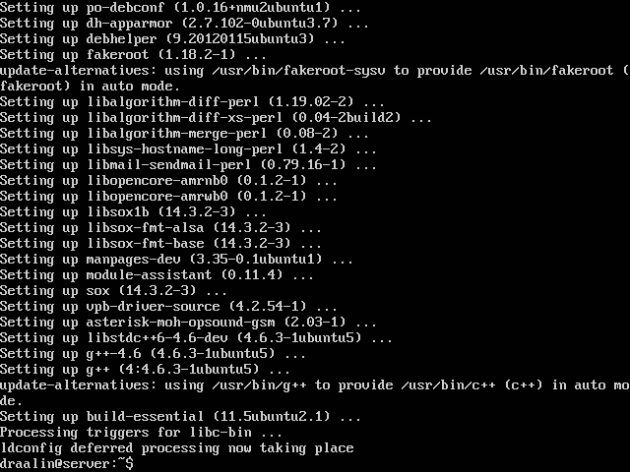
- That is it you are now done installing asterisk, but we should check a few things.
-
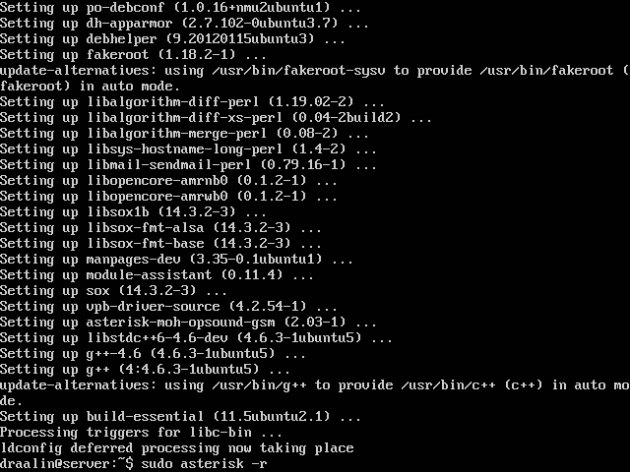
Now lets launch the Asterisk CLI (Command Line Interface) to see if it is running, which is should be.
Type in the following line.
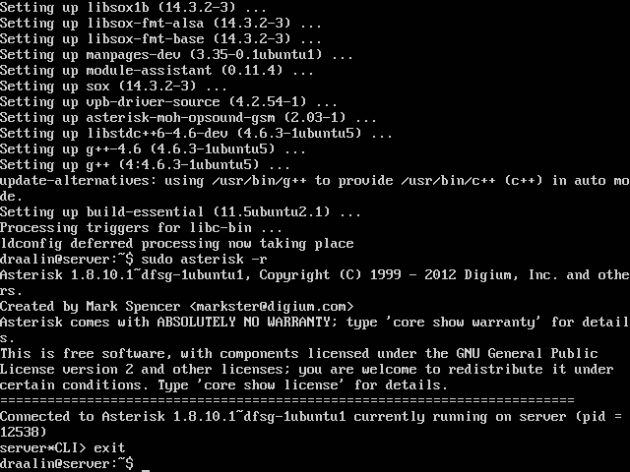
sudo asterisk -r ↵
-
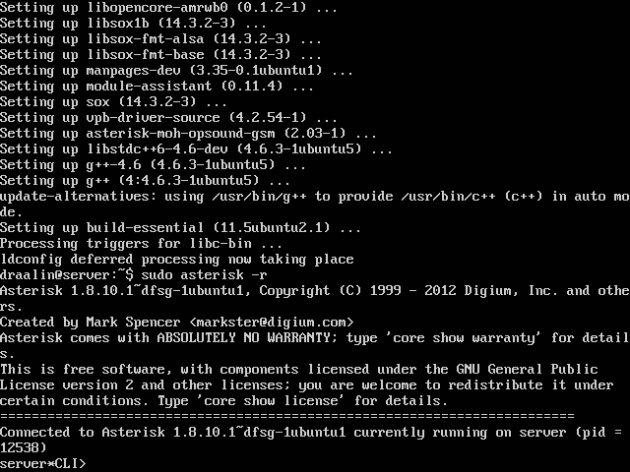
You can see below that you are now logged into the CLI of Asterisk. Now you just have to configure it!
-
To get out of the CLI you can type the following line.
exit ↵


That is it you are done the install asterisk guide and you have a working login. You can now start configuring your Asterisk PBX!