Skip to content
Menu
  • CloudThesis-Home
  • Cloud Management
    • VMware Cloud
    • VCF (VMware Cloud Foundation)
    • vRO
    • vRA
    • vRealize Log Insight
    • vCloud Director
    • Hybrid Cloud Extension (HCX)
    • vCloud
    • Cloud on AWS
  • VMware
    • vCenter
    • vSphere
      • Generic vSphere Commands
    • ESXi
    • VMware vRealize Suite Lifecycle Manager –8 Deployment Guide
    • VMware Site Recovery Manager (SRM)
    • vRealize Network Insight
    • VMware Horizon
  • Power CLI
    • PowerCLI Snippets
  • NSX
  • vSAN
    • vSAN 7
  • Nutanix
  • VOIP
  • Microsoft
    • Azure Cloud
    • Microsoft Windows Server
    • Hypervisor
    • Create Azure VMs (Portal)
    • Create Azure VMs – PowerShell
  • Author
  • Contact

vCloud Director Lab 2 – Deploy and Configure NSX manager .

Posted on July 31, 2019April 15, 2020

What is NSX manager ?

NSX Manager is installed as a virtual appliance on any ESXi host in your vCenter environment. NSX Manager provides the graphical user interface (GUI) and the REST APIs for creating, configuring, and monitoring NSX Data Center for vSphere components, such as controllers, logical switches, and edge services gateways.

1 ) First you need to Download the NSX manager ,use below link :

https://my.vmware.com/web/vmware/downloads

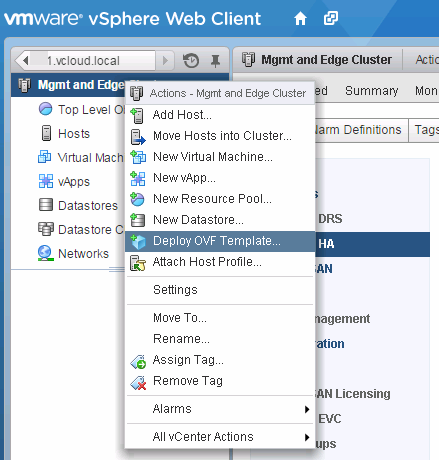
2)  Now go to the cluster and right click then select Deploy OVF Template .


1.png


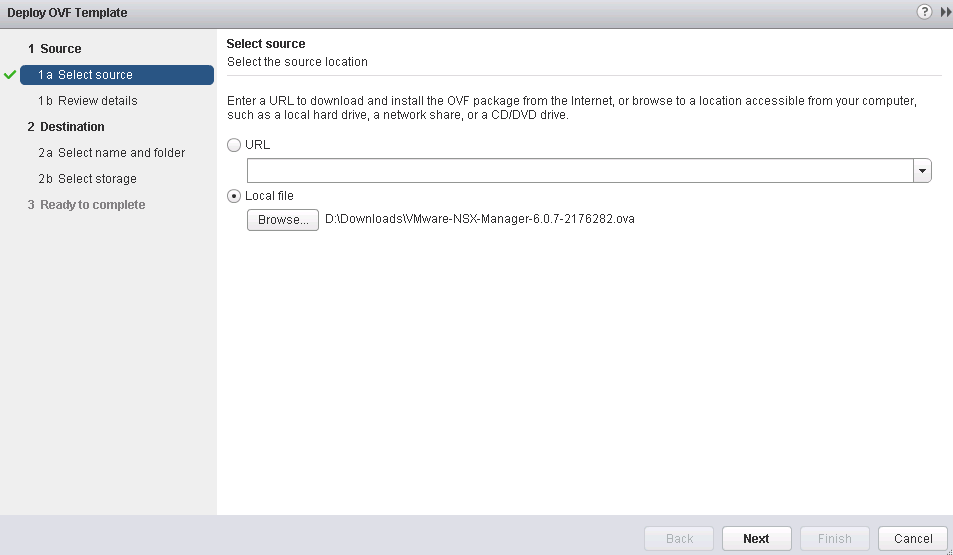
3) Next need to choose the NSX Manager OVA ( I am using ver. 6.0.1 ) and then Next .


2


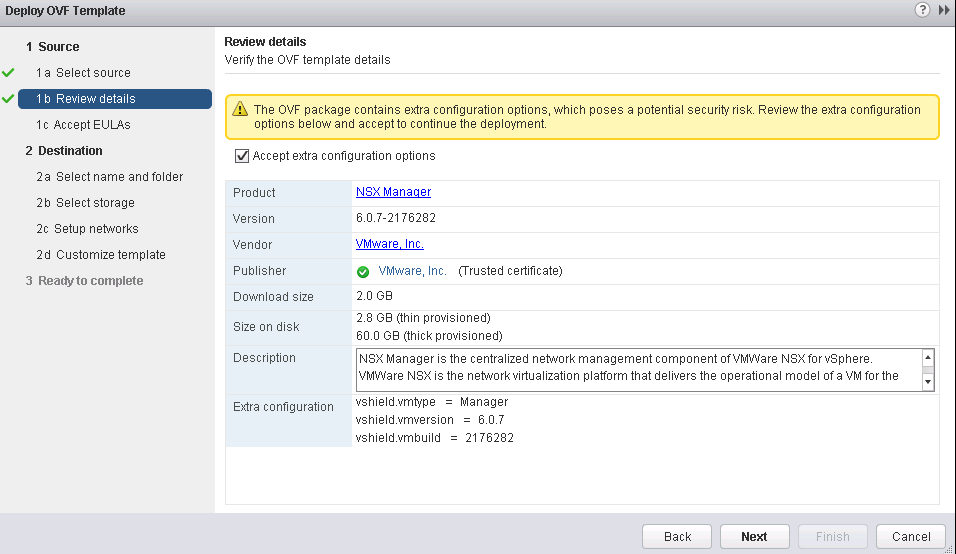
4) Now the Accept the extra configuration options then Next  .


3.png


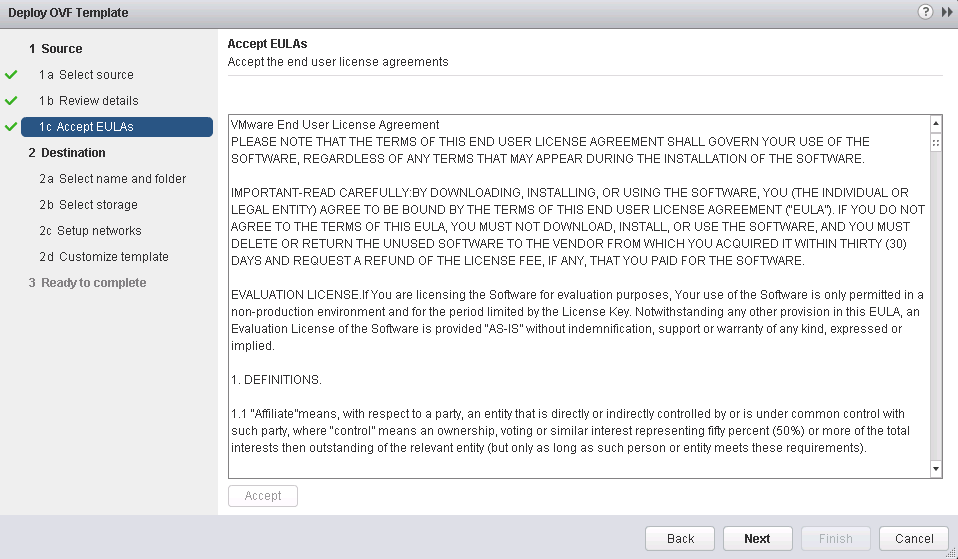
5)  Now accept the EULA and go for Next .


4


6) Next Choose the Name and destination Folder then go for  Next .


5


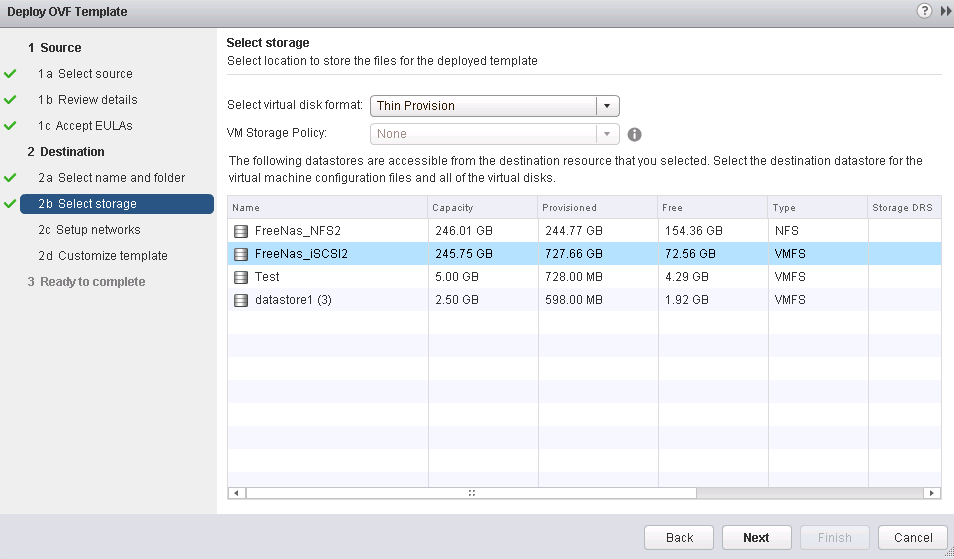
7) Now choose  VDF  and Datastore then  Next


6.png


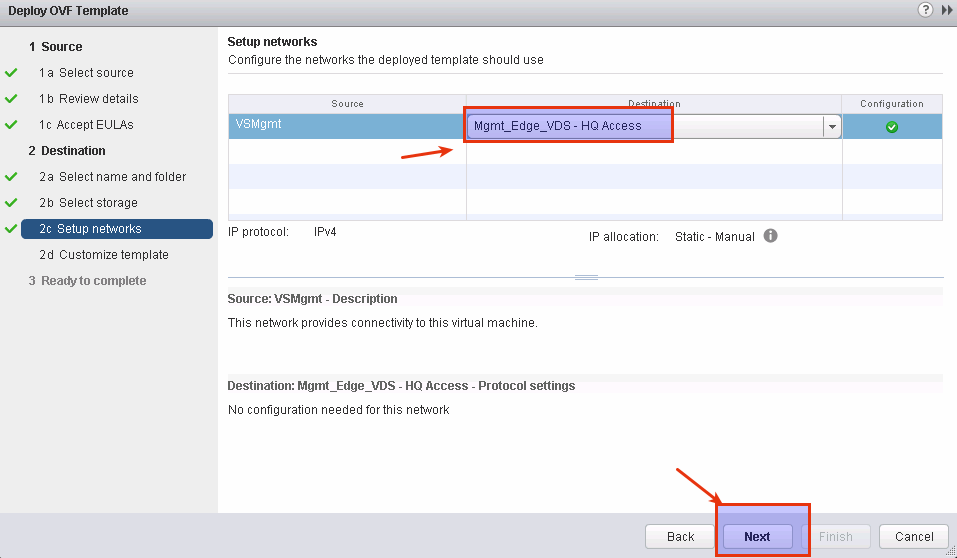
8) Now choose Destination Network then next .


7


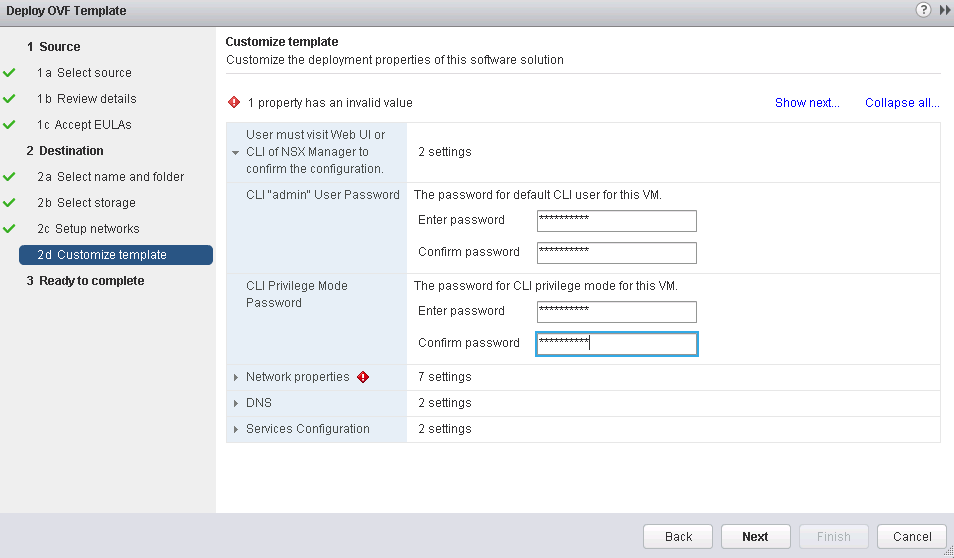
9) Now you need to Create a default CLI  Password and CLI Privilege Mode User Password then  Next .


8.png


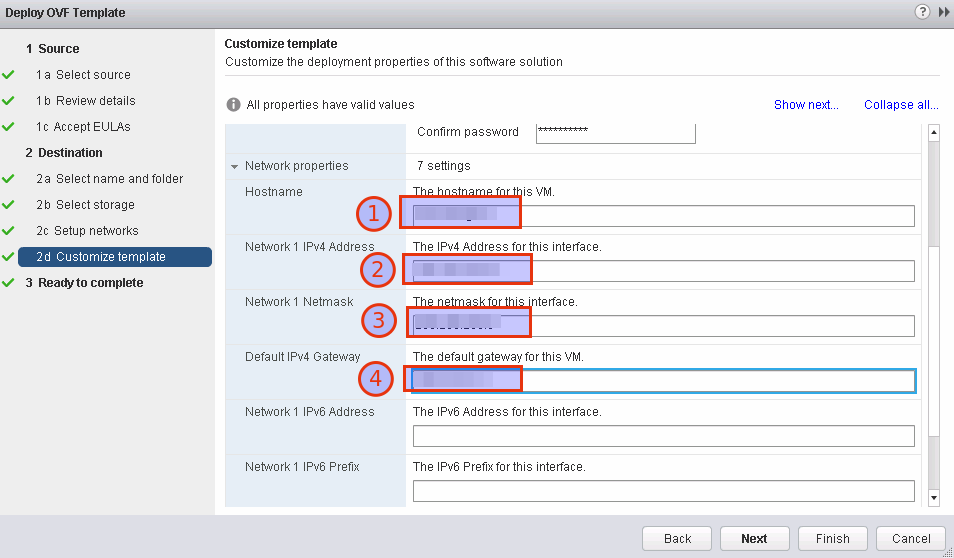
10) Now  expand  the Network properties and provide Hostname, IP Address, Netmask, ,Default Gateway and  DNS .


9.png


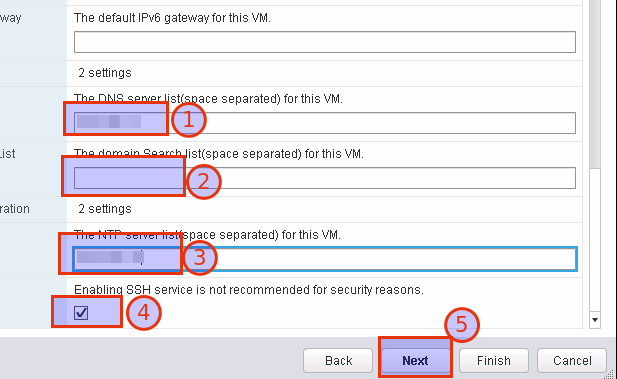
11) Then  expand DNS and Services Configuration and provide DNS Server List, Domain Search List, NTP Server list, and  Enable SSH then Next.


10


12)  Once deployment is finished choose power on .


Thanks hope you like it.

Rajiv Pandey.


Leave a Reply Cancel reply

Your email address will not be published. Required fields are marked *

Search Topic

Categories

  • Azure Cloud
  • Cloud Management
  • Cloud on AWS
  • Create Azure VMs – PowerShell
  • Create Azure VMs (Portal)
  • ESXi
  • Generic vSphere Commands
  • Hybrid Cloud Extension (HCX)
  • Hypervisor
  • Microsoft
  • Microsoft Azure Cloud and Services
  • Microsoft Windows Server
  • NSX
  • Nutanix
  • Power CLI
  • PowerCLI Snippets
  • vCenter
  • VCF (VMware Cloud Foundation)
  • vCloud
  • vCloud Director
  • VMware
  • VMware Cloud
  • VMware Horizon
  • VMware Site Recovery Manager (SRM)
  • VMware vRealize Suite Lifecycle Manager – 8.0
  • vRA
  • vRealize Log Insight
  • vRealize Network Insight
  • vRO
  • vSAN
  • vSAN 7
  • vSphere
  • Windows Servers
©2025 | WordPress Theme by Superbthemes.com