
Process of Setting up Azure VM
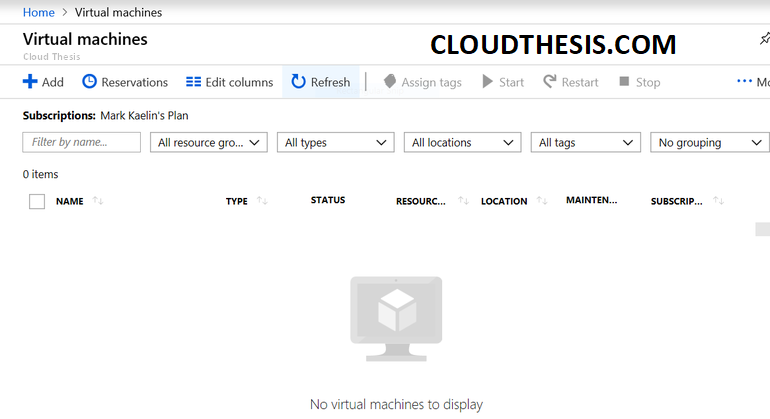
Start with login with Azure management portal through www.portal.azure.com. You need an active Azure subscription to use the portal. if you do not have a subscription, can sign up for a free trial account with limited access.Click the virtual machines link in the left-hand navigation bar to open the screen as shown in Figure A.
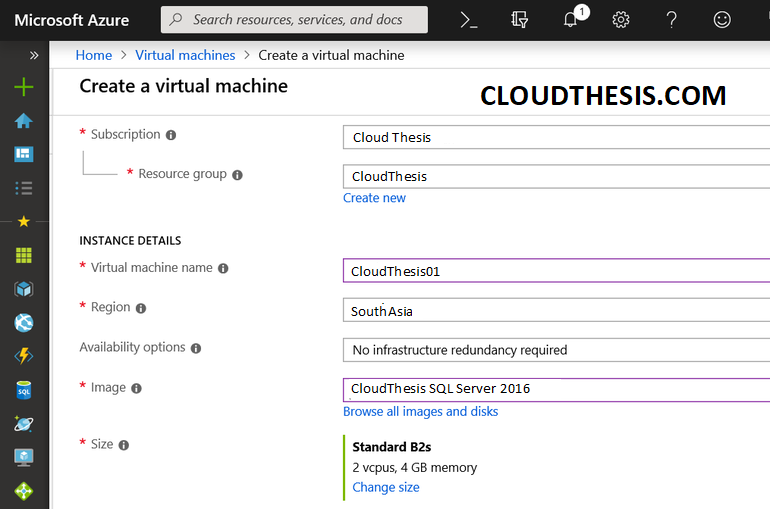
Now go to Add button and Click to start . You need to assign the plan and resources will be applied, and share the specific information regarding your virtual machine, including name, region, size, and what image you will use.as shown in Figure B.
Now you need to share the administrative login for new virtual machine, as well. The port section can be left at their default settings. Click the Next: Disks button to continue.
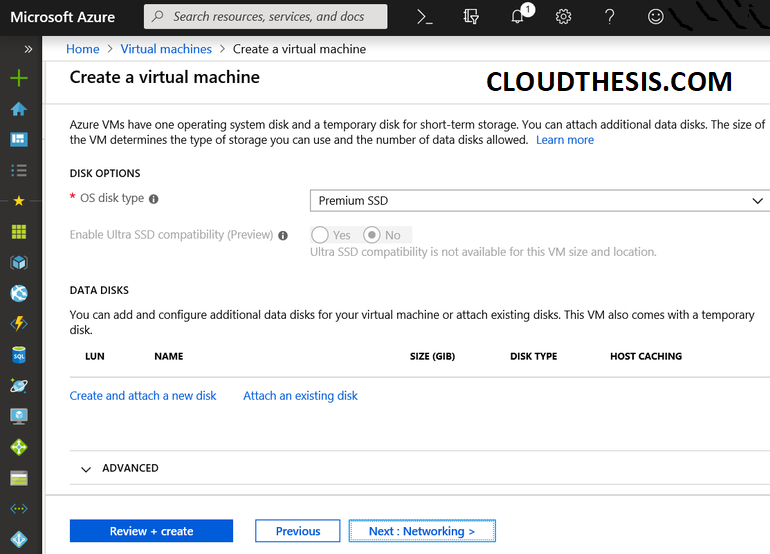
Figure C shows that you several choices regarding what storage you want to mimic for your VM. For most situations, the defaults is fine, but you can make changes here if you like. Click the Next: Networking button to continue.as shown in Figure C.
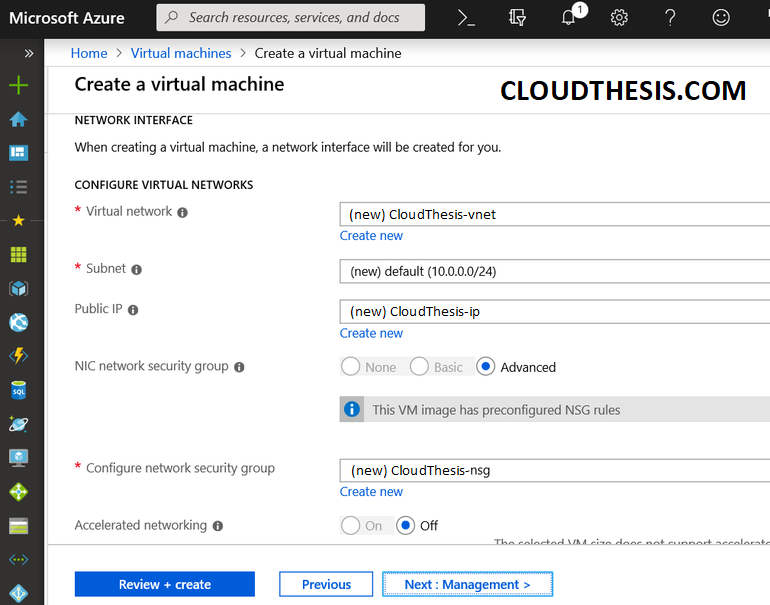
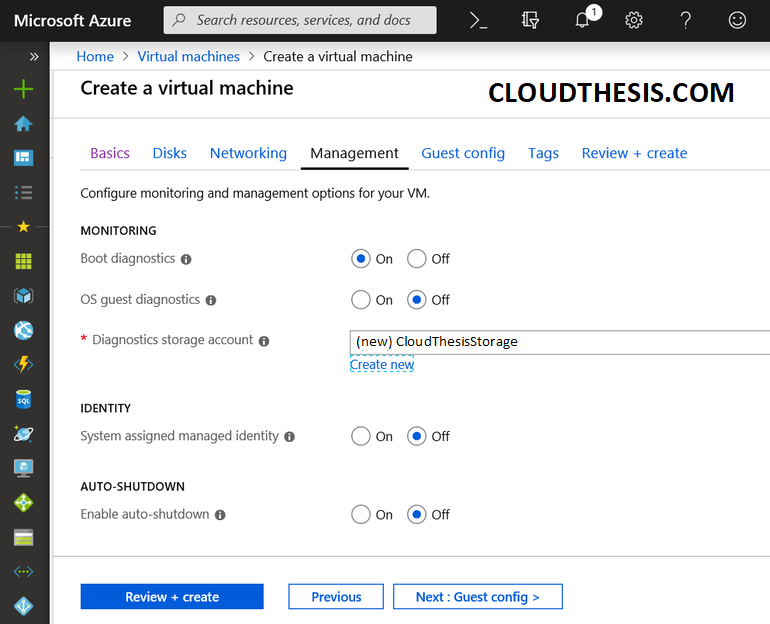
On Figure D You may do changes only if you have specific requirements that the defaults do not cover. Click the Next: Management button to continue.as shown in Figure D.
Again the same, You may do changes only if you have specific requirements. Click on the Next: Guest config to continue.as shown in Figure E.
In this Guest config tab is where you will add additional extensions, agents, scripts, and applications to your virtual machine. These are advanced features and are beyond this basic tutorial. Click the Next: Tags button to continue.
Go to configuration tab is where you add names to help you manage, categorize, and track your resources usage for billing purposes. Since we are only building one VM, we don’t need to fill anything out on this page, Click the Next: Review + create button to continue.as shown in Figure F.
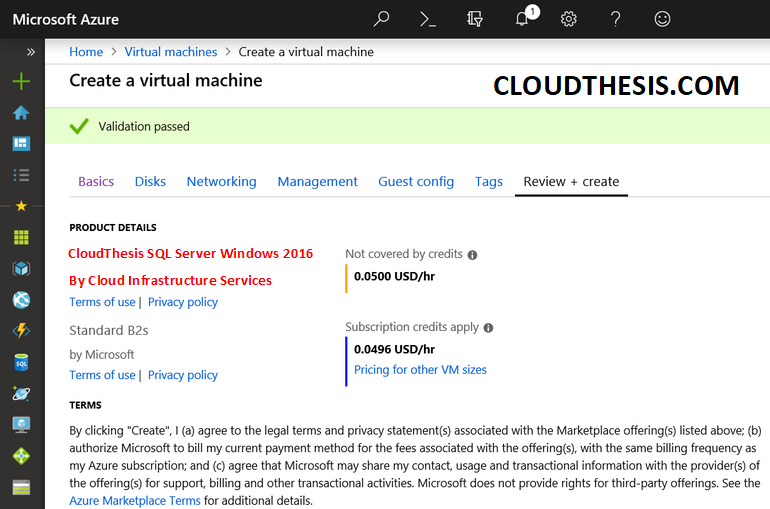
we are done with process of creating aCloudThesis SQL Server Windows 2016 virtual machine in Azure.
Thanks hope you like it.
Rajiv Pandey.