Create a Windows and centOS VM in Azure with PowerShell
About Azure PowerShell
The Azure PowerShell module is used to create and manage Azure resources from the PowerShell command line or in scripts. This quickstart shows you how to use the Azure PowerShell module to deploy a virtual machine (VM) in Azure that runs Windows Server 2016 or centOS 7.5
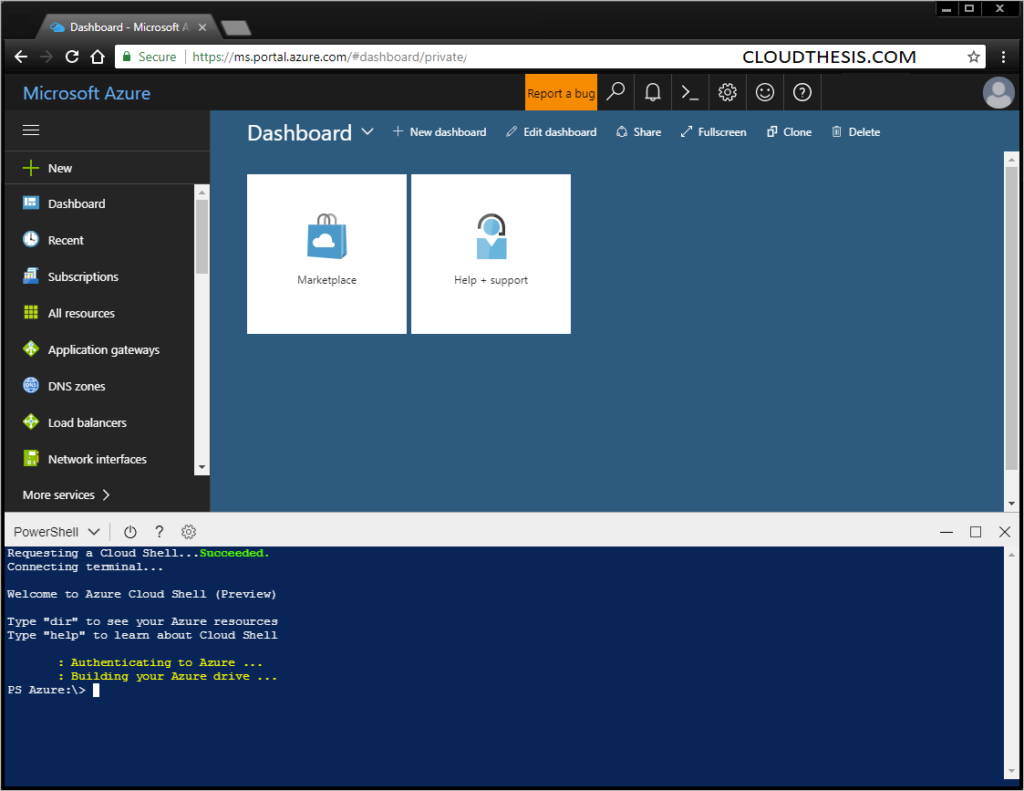
Azure Cloud Shell
The Azure Cloud Shell is a free interactive shell that you can use. It has common Azure tools preinstalled and configured to use with your account.
To open the Cloud Shell, just select Try it from the upper right corner of a code block. You can also launch Cloud Shell in a separate browser tab by going to https://shell.azure.com/powershell. Select Copy to copy the blocks of code, paste it into the Cloud Shell, and press enter to run it.
Now, I will show you how you can do that using Azure PowerShell.
A) Create and Configure Window VM :
Login
Login-AzureRmAccount
Variables for common values
$location = “SouthAsia”
$resourceGroup = “demo-cloudthesis-0”
$vmName = “Testwindows-0”
$publicIP = “publicip-1”
$subnet = “subnet-1”
$vnet = “vnet-1”
$nsg = “nsg-1”
$nsgrdp = “nsgrdp-1”
$nsgwww = “nsgwww-1”
$nsgweb1 = “nsgweb1-1”
$nsgweb2 = “nsgweb2-1”
$nsgsp = “nsgps-1”
$nic = “nic-1”
Create resource group
New-AzureRmResourceGroup -ResourceGroupName $resourceGroup -Location $location
Get vm credentials
$cred = Get-Credential
Create a subnet configuration
$subnetConfig = New-AzureRmVirtualNetworkSubnetConfig -Name $subnet
-AddressPrefix 192.168.1.0/24
Create a virtual network
$vnet = New-AzureRmVirtualNetwork -ResourceGroupName $resourceGroup
-Location $location -Name $vnet
-AddressPrefix 192.168.0.0/16 `
-Subnet $subnetConfig
Create a public IP address and specify a DNS name
$publicIP = New-AzureRmPublicIpAddress -ResourceGroupName $resourceGroup
-Location $location -AllocationMethod Static
-IdleTimeoutInMinutes 4 `
-Name $publicIP
Create an inbound network security group rule for port 3389
$nsgRuleRDP = New-AzureRmNetworkSecurityRuleConfig -Name $nsgrdp
-Protocol Tcp -Direction Inbound
-Priority 1000 -SourceAddressPrefix *
-SourcePortRange * -DestinationAddressPrefix *
-DestinationPortRange 3389 `
-Access Allow
Create an inbound network security group rule for port 80
$nsgRuleWeb = New-AzureRmNetworkSecurityRuleConfig -Name $nsgwww
-Protocol Tcp -Direction Inbound
-Priority 1001 -SourceAddressPrefix *
-SourcePortRange * -DestinationAddressPrefix *
-DestinationPortRange 80 `
-Access Allow
Create an inbound network security group rule for port 8081
$nsgRuleWeb1 = New-AzureRmNetworkSecurityRuleConfig -Name $nsgweb1
-Protocol Tcp -Direction Inbound
-Priority 1002 -SourceAddressPrefix *
-SourcePortRange * -DestinationAddressPrefix *
-DestinationPortRange 8081 `
-Access Allow
Create an inbound network security group rule for port 8082
$nsgRuleWeb2 = New-AzureRmNetworkSecurityRuleConfig -Name $nsgweb2
-Protocol Tcp -Direction Inbound
-Priority 1003 -SourceAddressPrefix *
-SourcePortRange * -DestinationAddressPrefix *
-DestinationPortRange 8082 `
-Access Allow
Create a network security group
$nsg = New-AzureRmNetworkSecurityGroup -ResourceGroupName $resourceGroup
-Location $location -Name $nsg
-SecurityRules $nsgRuleRDP,$nsgRuleWeb,$nsgRuleWeb1,$nsgRuleWeb2
Create a virtual network card and associate with public IP address and NSG
$nic = New-AzureRmNetworkInterface -Name $nic
-ResourceGroupName $resourceGroup -Location $location
-SubnetId $vnet.Subnets[0].Id -PublicIpAddressId $publicIP.Id
-NetworkSecurityGroupId $nsg.Id
Create a virtual machine configuration
$vmConfig = New-AzureRmVMConfig -VMName $vmName -VMSize Standard_D1 | Set-AzureRmVMOperatingSystem -Windows -ComputerName $vmName -Credential $cred |
Set-AzureRmVMSourceImage -PublisherName MicrosoftWindowsServer -Offer WindowsServer -Skus 2016-Datacenter -Version latest |
Add-AzureRmVMNetworkInterface -Id $nic.Id
Create a virtual machine using the configuration
New-AzureRmVM -ResourceGroupName $resourceGroup -Location $location -VM $vmConfig
Install IIS, .NET Framework
Set-AzureRmVMExtension -ResourceGroupName $resourceGroup -ExtensionName IIS
-VMName $vmName -Publisher Microsoft.Compute
-ExtensionType CustomScriptExtension -TypeHandlerVersion 1.4
-SettingString ‘{“commandToExecute”:”powershell Add-WindowsFeature Web-Server,Web-Mgmt-Tools,Web-Asp-Net45,NET-Framework-Features;powershell Add-Content -Path \”C:\inetpub\wwwroot\Default.htm\” -Value $($env:computername)”}’ `
-Location $location
Get public ip address of the machine
Get-AzureRmPublicIpAddress -ResourceGroupName $resourceGroup
B) Create and Configure centOS VM :
Define variables for networking part
$ResourceGroup = “”
$Location = “”
$vNetName = “”
$AddressSpace = “” # Format 10.10.0.0/16
$SubnetIPRange = “” # Format 10.10.1.0/24
$SubnetName = “”
$nsgName = “”
$StorageAccount = “” # Name must be unique. Name availability can be check using PowerShell command Get-AzStorageAccountNameAvailability -Name “”
Create Resource Groups and Storage Account for diagnostic
New-AzResourceGroup -Name $ResourceGroup -Location $Location
New-AzStorageAccount -Name $StorageAccount -ResourceGroupName $ResourceGroup -Location $Location -SkuName Standard_LRS
Create Virtual Network and Subnet
$vNetwork = New-AzVirtualNetwork -ResourceGroupName $ResourceGroup -Name $vNetName -AddressPrefix $AddressSpace -Location $location
Add-AzVirtualNetworkSubnetConfig -Name $SubnetName -VirtualNetwork $vNetwork -AddressPrefix $SubnetIPRange
Set-AzVirtualNetwork -VirtualNetwork $vNetwork
Create Network Security Group
$nsgRuleVMAccess = New-AzNetworkSecurityRuleConfig -Name ‘allow-vm-access’ -Protocol Tcp -Direction Inbound -Priority 100 -SourceAddressPrefix * -SourcePortRange * -DestinationAddressPrefix * -DestinationPortRange 22,3389 -Access Allow
New-AzNetworkSecurityGroup -ResourceGroupName $ResourceGroup -Location $location -Name $nsgName -SecurityRules $nsgRuleVMAccess
Define Variables needed for Virtual Machine
$vNet = Get-AzVirtualNetwork -ResourceGroupName $ResourceGroup -Name $vNetName
$Subnet = Get-AzVirtualNetworkSubnetConfig -Name $SubnetName -VirtualNetwork $vNet
$nsg = Get-AzNetworkSecurityGroup -ResourceGroupName $ResourceGroup -Name $NsgName
$vmName = “TestcentOS-01”
$pubName = “OpenLogic”
$offerName = “centOS”
$skuName = “7.5”
$vmSize = “Standard_B1s”
$pipName = “$vmName-pip”
$nicName = “$vmName-nic”
$osDiskName = “$vmName-OsDisk”
$osDiskSize = “30”
$osDiskType = “Premium_LRS”
Create Admin Credentials
$adminUsername = Read-Host ‘Admin username’
$adminPassword = Read-Host -AsSecureString ‘Admin password with least 12 characters’
$adminCreds = New-Object PSCredential $adminUsername, $adminPassword
Create a public IP and NIC
$pip = New-AzPublicIpAddress -Name $pipName -ResourceGroupName $ResourceGroup -Location $location -AllocationMethod Static
$nic = New-AzNetworkInterface -Name $nicName -ResourceGroupName $ResourceGroup -Location $location -SubnetId $Subnet.Id -PublicIpAddressId $pip.Id -NetworkSecurityGroupId $nsg.Id
Set VM Configuration
$vmConfig = New-AzVMConfig -VMName $vmName -VMSize $vmSize
Add-AzVMNetworkInterface -VM $vmConfig -Id $nic.Id
Set VM operating system parameters
Set-AzVMOperatingSystem -VM $vmConfig -Linux -ComputerName $vmName -Credential $adminCreds
Set boot diagnostic storage account
Set-AzVMBootDiagnostics -Enable -ResourceGroupName $ResourceGroup -VM $vmConfig -StorageAccountName $StorageAccount
Set virtual machine source image
Set-AzVMSourceImage -VM $vmConfig -PublisherName $pubName -Offer $offerName -Skus $skuName -Version ‘latest’
Set OsDisk configuration
Set-AzVMOSDisk -VM $vmConfig -Name $osDiskName -DiskSizeInGB $osDiskSize -StorageAccountType $osDiskType -CreateOption fromImage
Create the VM
New-AzVM -ResourceGroupName $ResourceGroup -Location $location -VM $vmConfig
Thanks hope you like it.
Rajiv Pandey.